-
 Home
Home
-
 Chapters
-
Introduction
In the following, we present the very basics for getting started with Julia. As we haven't introduced functions or macros yet, we'll keep the discussion to a bare minimum. Specifically, this means we'll limit ourselves to covering interactive and non-interactive modes, along with approaches for adding comments and specifying paths.
Using Julia in VS Code
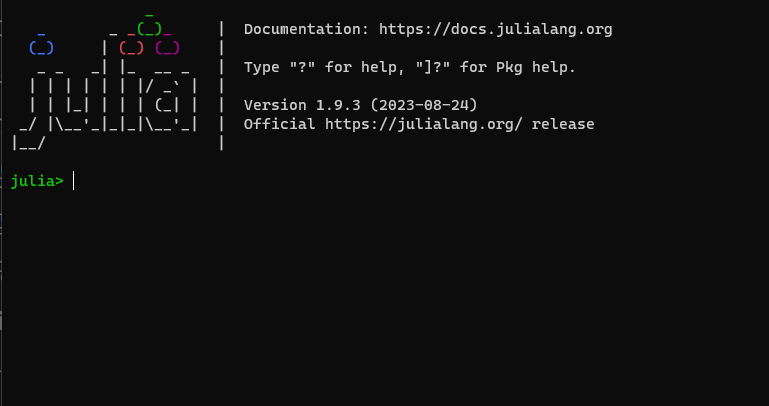
The REPL, short for "Read-Eval-Print Loop," refers to Julia's working environment. This activates when you run
julia.exe, allowing you to enter inputs at the promptjulia>and receive their corresponding outputs. This usage of Julia is known as interactive mode.Screenshot
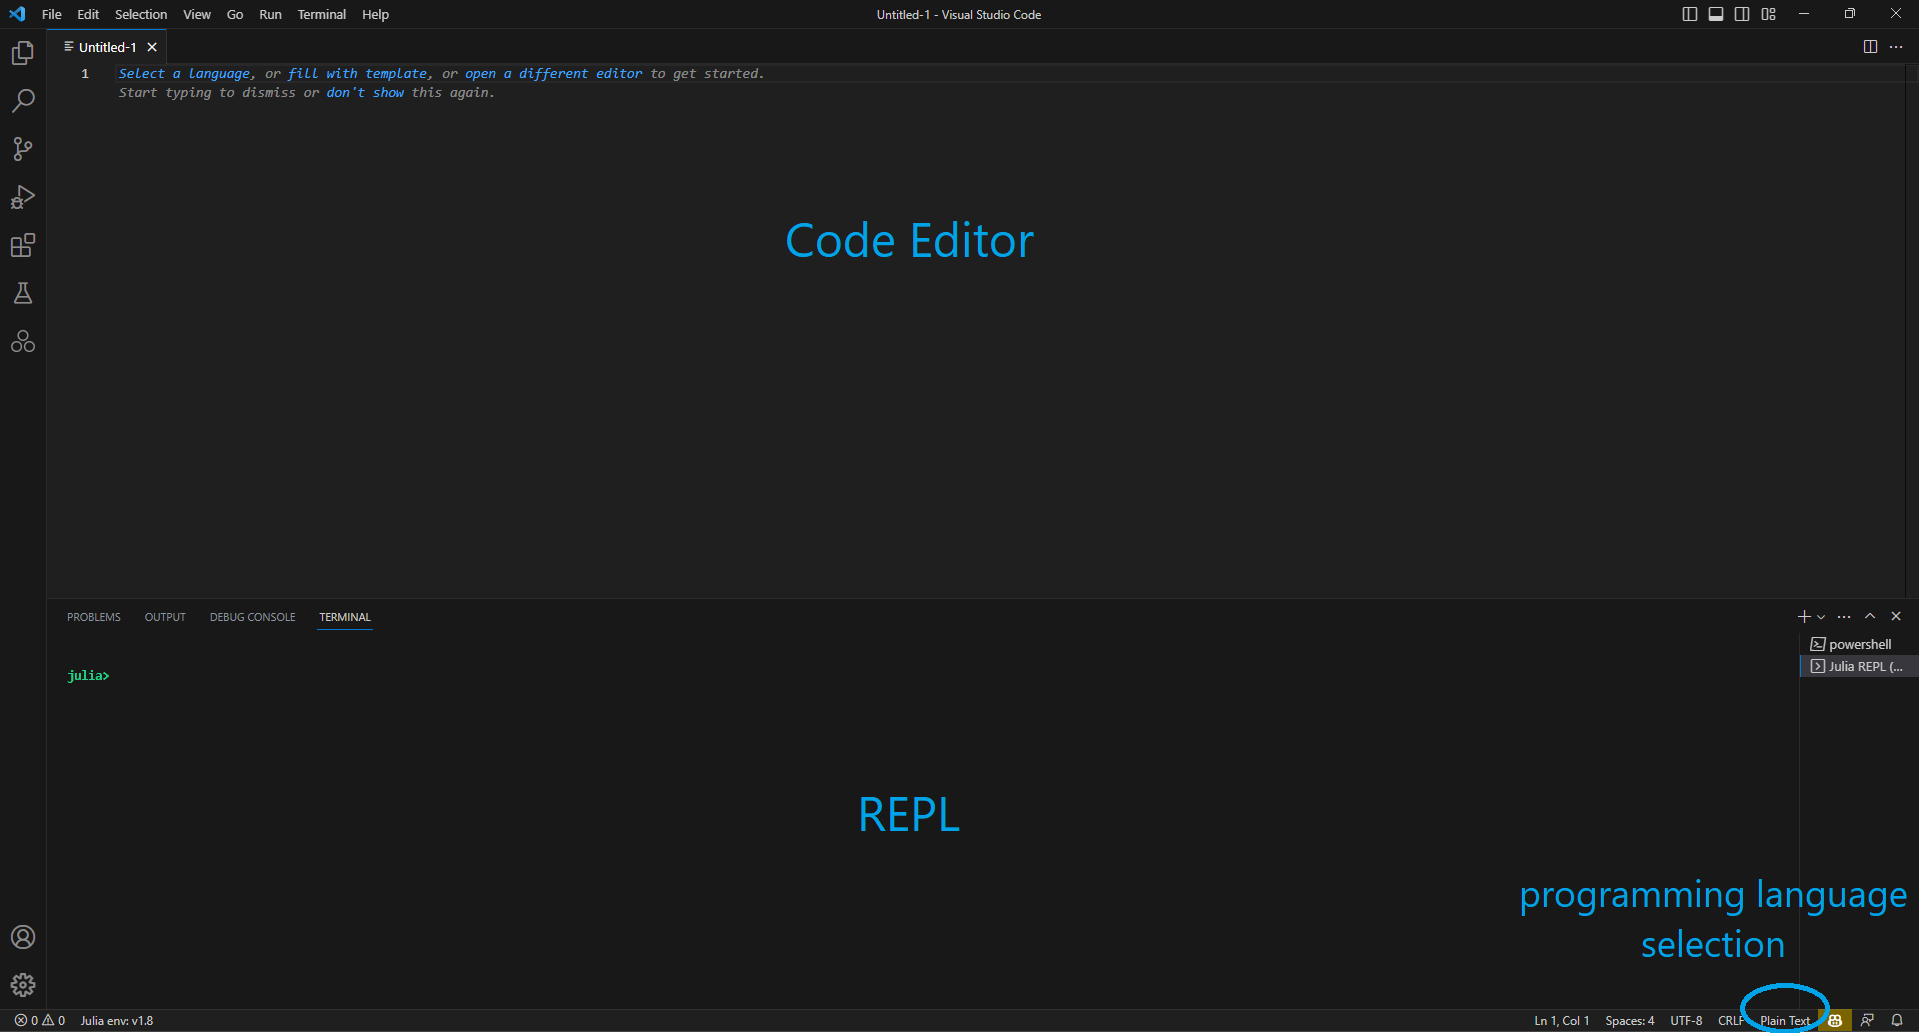
Throughout this website, we'll assume you're working with a code editor, rather than directly interacting with the REPL. In particular, we'll be using VS Code as our code editor of choice. To get started with Julia in VS Code, you'll need to install the Julia extension. You can find this by navigating to the Extensions tab, as indicated below with a blue circle.
Screenshot

The REPL is situated at the bottom of the screen, while the code must be written in the editor area above the REPL. Note that when starting a new file in VS Code, you'll need to specify the programming language you want to use. You can do this by clicking on the language option located at the bottom corner of the screen, or by using the keyboard shortcut Ctrl+k + M and typing "julia".
Screenshot
Adding Comments in a Script
Julia allows you to include comments in your code, just like in any programming language. Comments are lines of text that won't be executed but are useful for clarifications and explanations.
To add a single-line comments, simply precede the text with the
#symbol. The#symbol can be placed anywhere on a line, and anything written after it will be ignored. Alternatively, you can add a multi-line comment by beginning the text with#=and end it with=#.Adding Comments
# This is an example of a comment

x = 2   # `x=2` is run, but anything after `#` won't

#=  This is an example of a longer comment.
    It can be split into several lines, and
    can have any length. =#
Paths of Files and Folders
File management systems vary across operating systems, making the syntax for specifying file paths in Julia differ depending on them. Below, we provide examples that illustrate the syntax for a folder
C:\user\juliaon Windows and/user/juliaon Linux/macOS. Alternatively, the functionjoinpathprovides a platform-agnostic approach to specifying file paths, making your code portable across systems.File management systems vary across operating systems, which affects the syntax for specifying file paths in Julia. In this respect, Julia provides two approaches. The first one involves using operating system-specific syntax, as illustrated by the examples below for a file
C:\user\file.jlon Windows and/user/file.jlon Linux/macOS. A more versatile alternative is thejoinpathfunction, which applies regardless of the operating system.Specifying Paths
# On Windows (note that double \\)
"C:\\user\\file.jl"

# On Unix-based systems (e.g., macOS or Linux)
"/user/file.jl"

# on any operating system
joinpath("/", "user", "file.jl")
Two special paths have a convenient shortcut:
@__DIR__, which identifies the directory where your script is saved.
For instance, if your script is inC:\user\julia, thenjoinpath(@__DIR__, "graphs")refers toC:/user/julia/graphs.homedir(), which indicates the user's home directory.
This refers toC:\Users\usernameon Windows (where "username" is your actual user), and is the equivalent of~on Linux. For instance, you can access Google Drive's folder located on eitherC:\Users\martin\GoogleDriveor\home\martin\GoogleDriveby the commandjoinpath(homedir(), "GoogleDrive").
Executing Code From a File
You can also work non-interactively with Julia. This requires storing a script in a file to eventually execute it. For instance, the following line executes a file at
C:\user\julia\graphs.jlon Windows or/users/julia/graphs.jlon macOS/Linux systems:Executing Code From a File
include(joinpath("/", "user", "julia", "graphs.jl"))